How to create a custom white label client portal
Learn how to customize the look, feel, and functionality of your white label client portal so you can create a better user experience for your clients.

Having a polished portal experience with branding like your company's logo helps customers feel secure when interacting with your site, which is vital when transmitting personal data and file sharing. When you use your company's assets, you create brand recognition and a sense of familiarity.
By customizing and deploying a white label client portal, you can significantly improve the user experience for both your internal team and your clients. Here are some best practice tips on how to make your client portal experience as cohesive as possible.
7 tips for customizing your white label client portal
Here's how you can create a white label client portal:
1. Match your brand's visual style
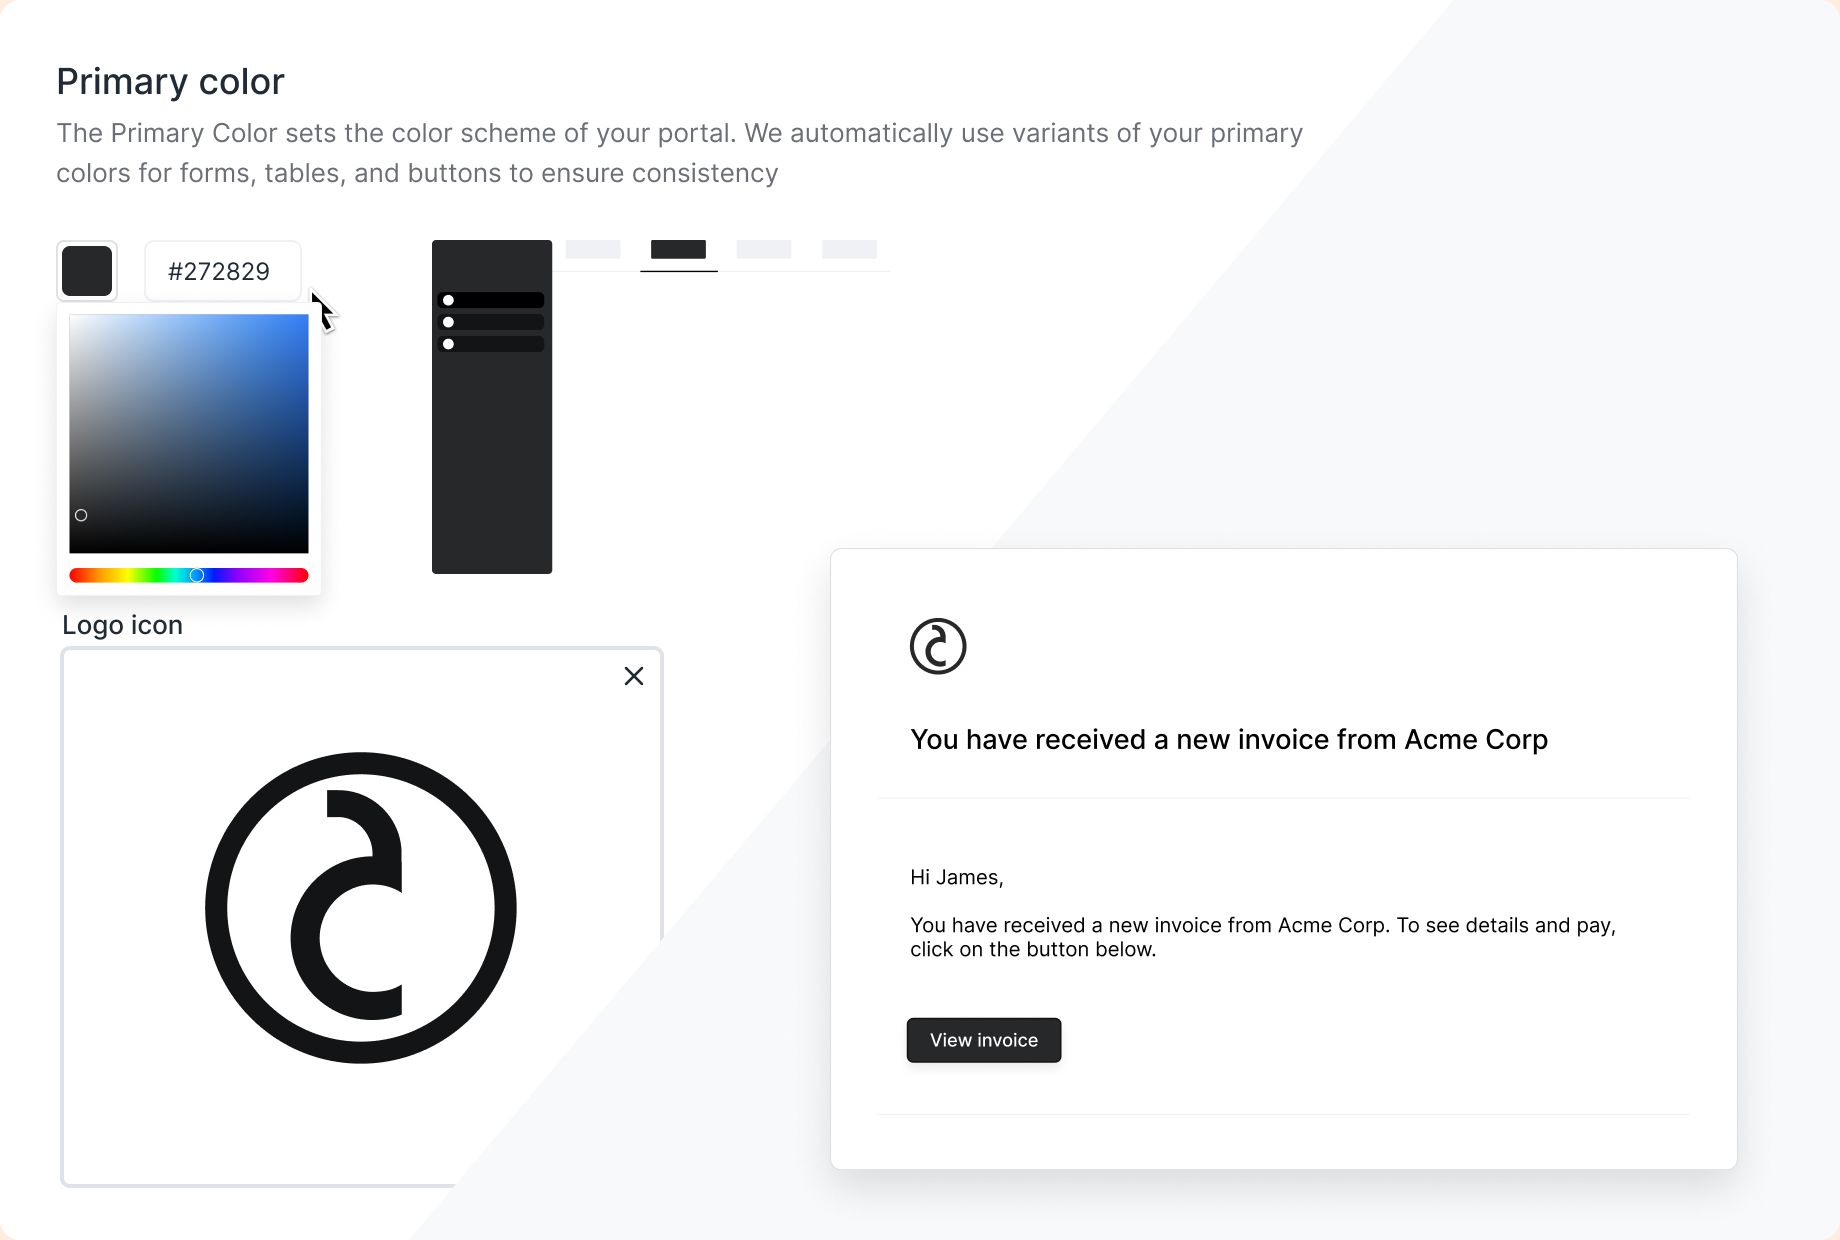
To ensure a united brand experience, set the color scheme, logos, and icons in your portal to match your brand's established visual style. Adding your own stamp to your online service can inspire brand loyalty and create cohesion between your platforms. Your end goal should be to have all outside-facing business software follow your style guidelines, whether an online training portal or a payment gateway portal for invoicing.
Your main point of reference should be your main company website, which should have your basic visual style nailed down. If you still aren't sure what assets to use, consider your social media platforms and how you portray your brand to the public. Examine how you have developed and established your brand's style and marketing to evaluate each property as belonging to a single cohesive experience for the best continuity.

2. Use a custom domain
A custom domain name adds an element of trustworthiness to a white label platform and makes the transitions between your main web property and portal smoother. A recognizable domain name is a security indicator for your client, letting them know that they are not sharing personal information with an incorrect source.
Make sure your custom domain name matches your company website URL or company name as closely as possible. Try to keep as much uniformity between your property URLs as possible to prevent client confusion and reduce fraud risks.
3. Set up a welcome message
Initial welcome messages are a great way to help guide your client through the onboarding process. You can often set welcome messages to trigger as an automation after the portal registration process, giving the newly created user a pop-up or message when they log in for the first time.
Through these auto-generated greetings, you can help guide the user through essential features or workflows to help prevent confusion and facilitate adoption. You can address potential questions and concerns here, preventing frustration or uncertainty before it occurs.

4. Customize email notifications
Personalize email notifications through tokens and address the user directly by name if available. Rather than using templated, cold emails, try and connect with the client through more personal messages. Use language that feels warm and helpful, and anticipate potential concerns or common pain points before they arise.
When possible, customize your email notification templates to adjust to different audiences and their needs. A client collaborating with your employees may have a unique need compared to a vendor who logs onto your portal to make a payment, for example. By tailoring your notifications and messaging to specific client groups, you can help your users have a streamlined and personalized experience.
5. Customize the login screen
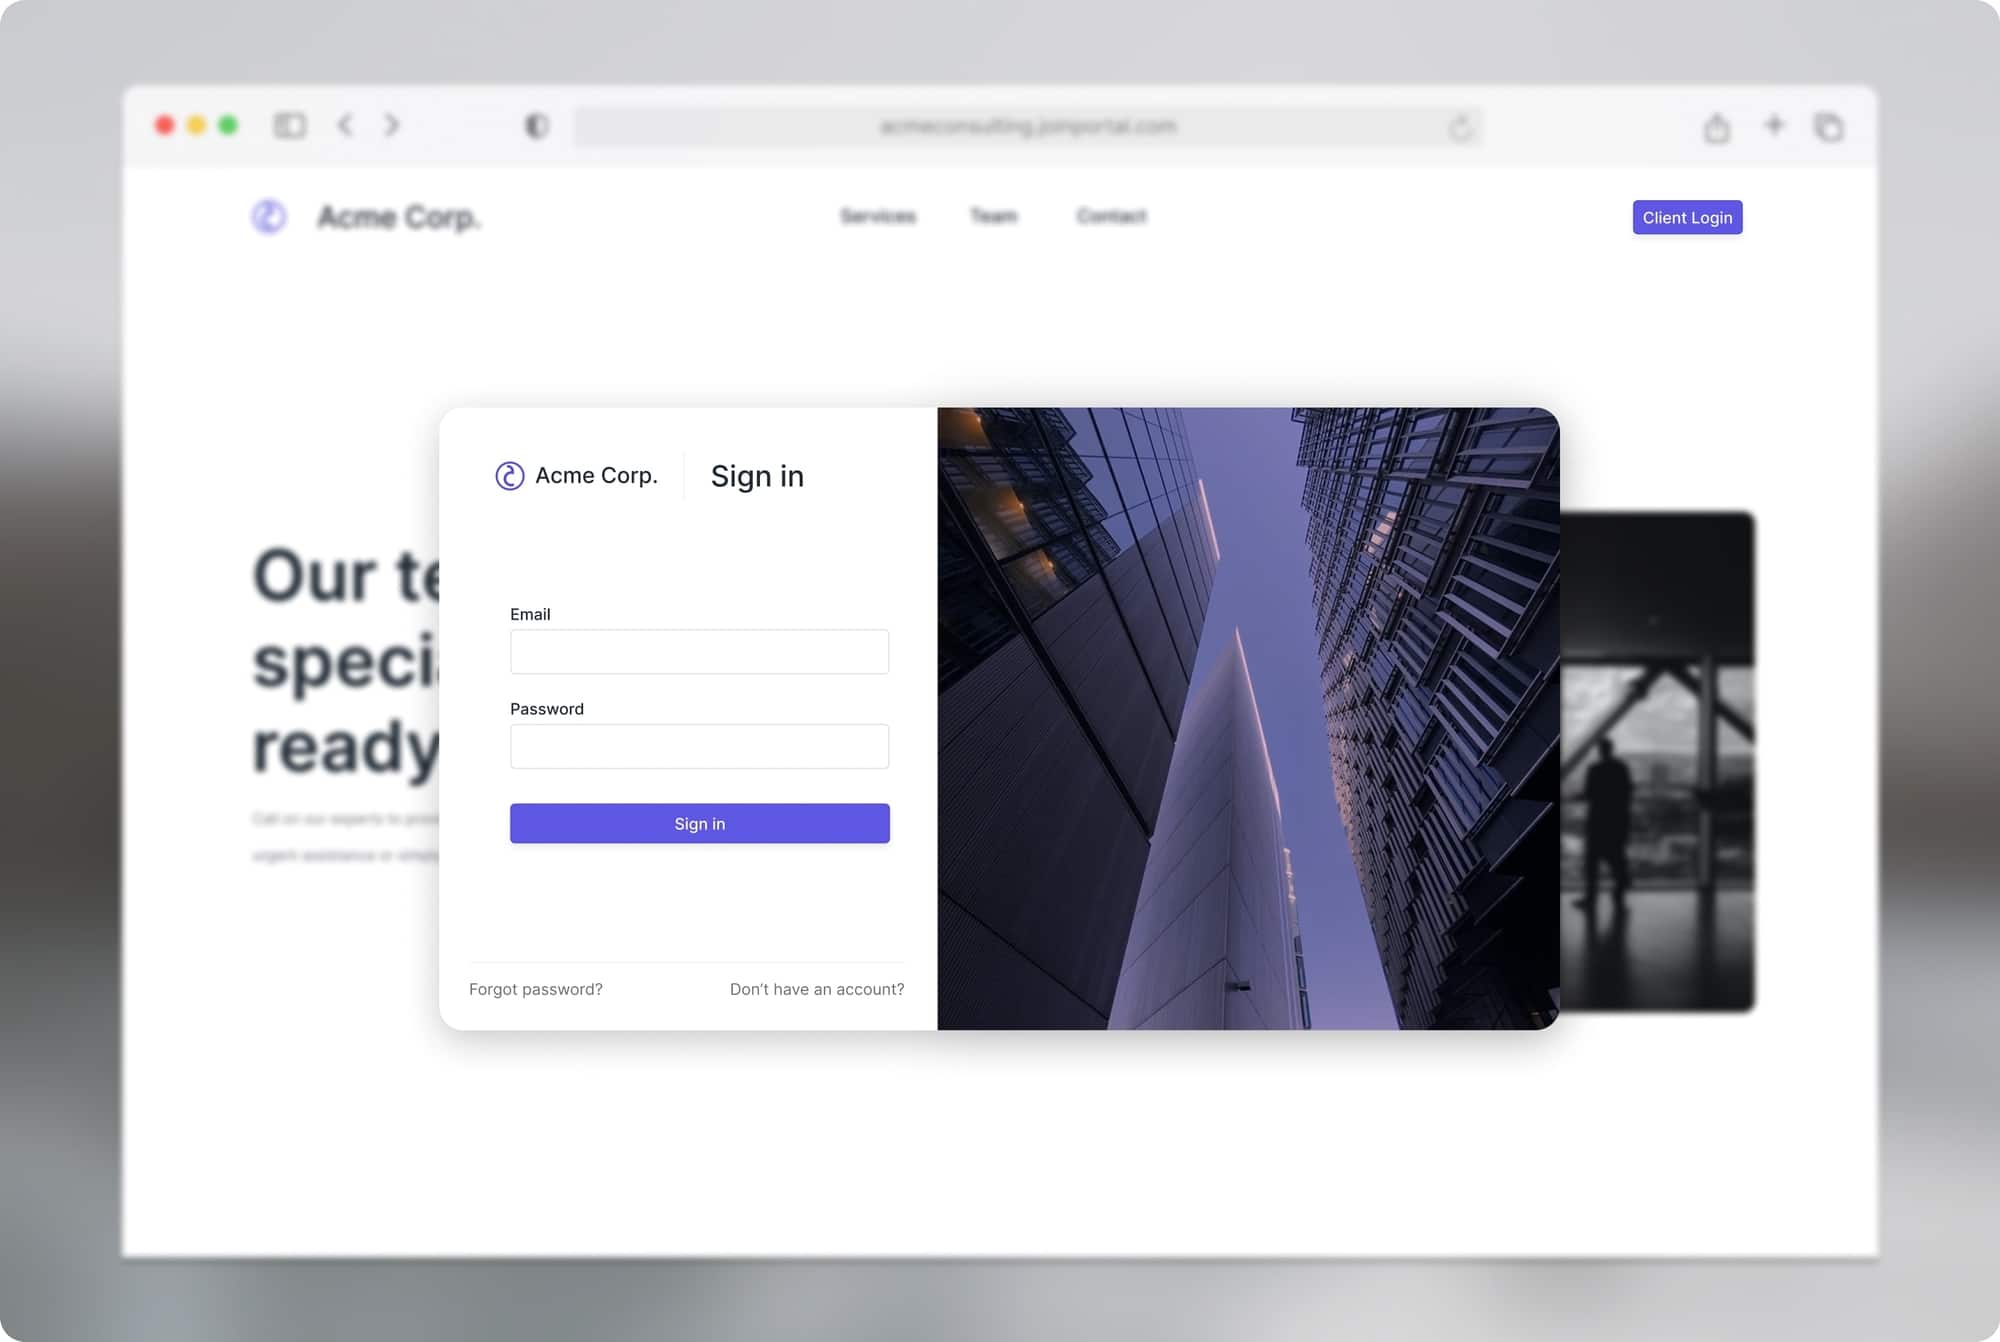
Your login page is one of the essential pages to customize, as every client will be landing on it. You want to create a good impression from the get-go. The login screen should have matching branding to give the client a sense of familiarity and help them feel like they have reached the correct page. Clear branding helps the client feel secure and starts creating brand recognition from the beginning.
You also want to include a clear and straightforward design to help prevent any confusion. For example, including an easy-to-see "password reset" option can help prevent a client from contacting you to reset their password directly, something that can be time-consuming and frustrating for both parties.

6. Connect your extensions
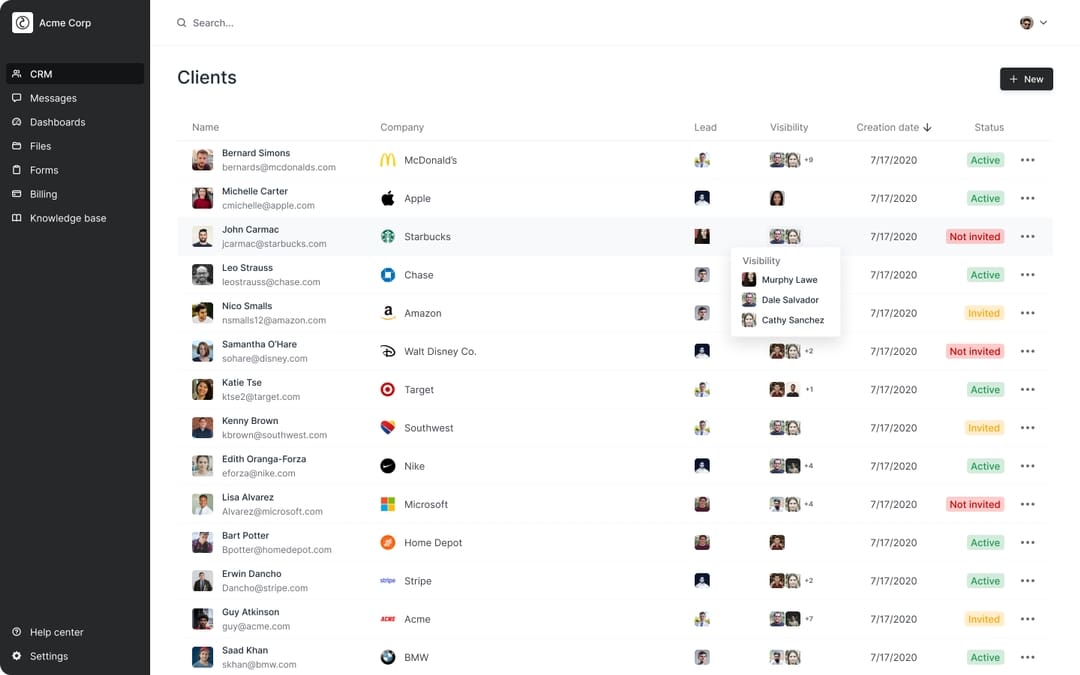
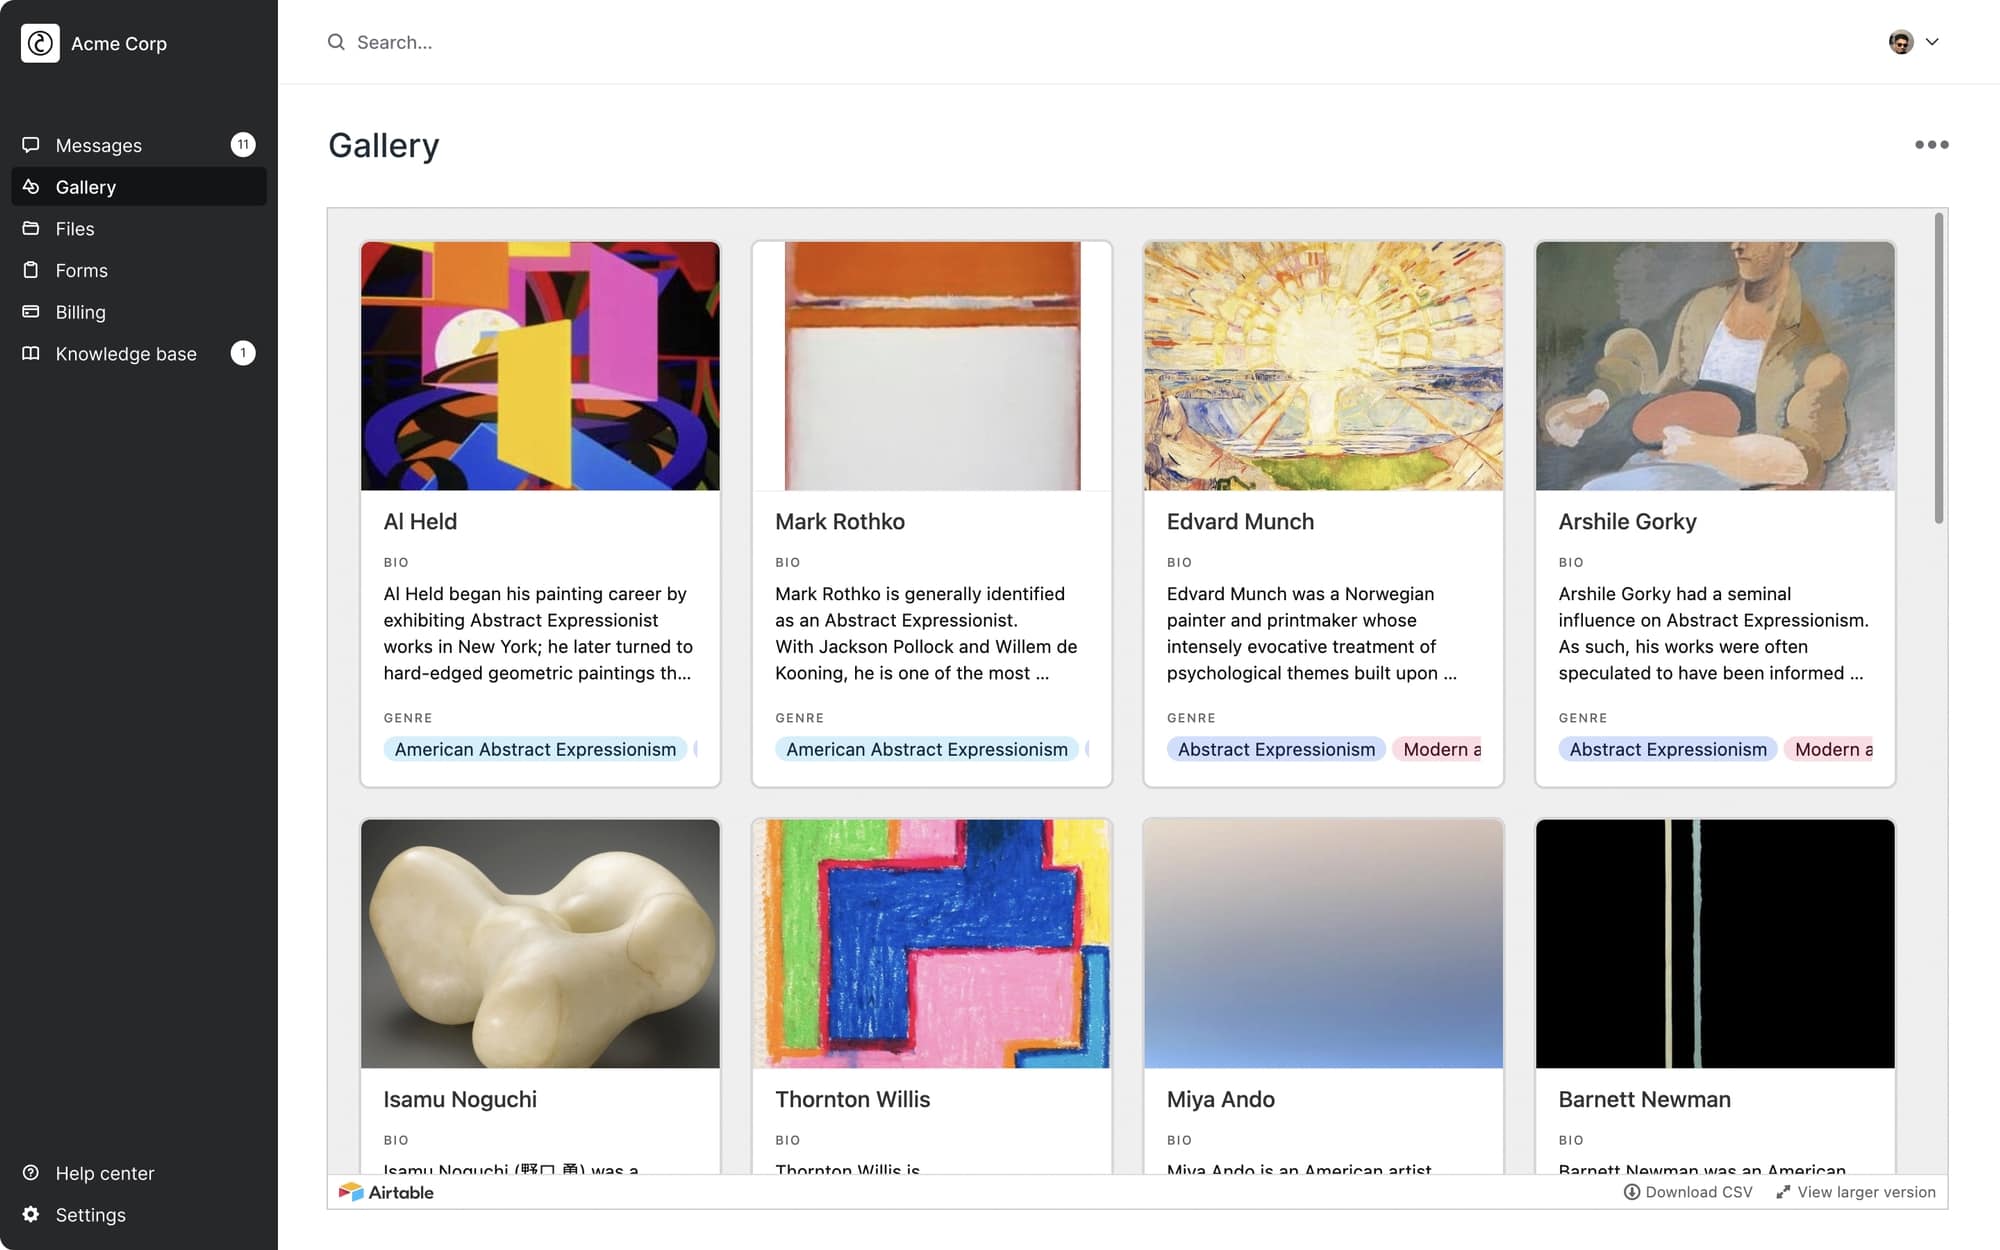
Connecting with third-party integrations provides many different kinds of options for customization and functionality. Find extensions and APIs that will help streamline your client's experience and give them the added tools they need to succeed.
When connecting extensions, remember that too many can start to get overwhelming. There is a delicate balance between having enough extensions to help a client and having so many extensions that your portal becomes confusing and hard to use. Turn off any extensions or embeds that you don't need to make the user experience smoother for clients.
Also, when evaluating white label portals, make sure you can connect the portal to your existing internal tech stack.

7. Always conduct end-to-end user testing
It is crucial to ensure that clients can easily use your customer portal. The whole point of a successful portal is to ensure that it streamlines interaction and collaboration, not hinders it. Get feedback to see which areas confused or delayed users. Use suggestions and survey results to help you develop a more straightforward workflow.
Don't forget to have users test your secure client portal software on all supported platforms, such as across desktop, tablet, and mobile android or iOS devices. You want your portal to be accessible regardless of how your client needs to access it. Many people work on the go, so having a browser-based application that works well across all devices is essential.
Summary
Creating a white label portal will not only build brand loyalty and recognition but help clients feel confident and secure. Customizing areas such as welcome messages and email notifications can further tailor this process to guide customers and give them a better user experience. Consider connecting extensions to enhance the client's experience further, providing powerful tools to assist them.
Once you have designed your white label portal, make sure to do end-to-end user testing to ensure that the portal works across platforms and make changes where necessary. Your end goal is to make the process seamless and to make it feel closely integrated with the rest of your client-facing points of contact!
Make customizing your client portal a breeze
With Assembly, creating a seamless user experience between your website and client portal is a snap. Customize styling, create a custom domain name, and set automated emails and messages quickly. Assembly is a client management portal solution and CRM that delivers everything you need to run your business, including billing and invoicing, file sharing, eSignature collection, messaging, intake forms, and your knowledge base — all packaged in a single intuitive, seamless experience.

